Layering plantings in a yard to create a visually pleasing and harmonious landscape involves arranging plants by height, color, texture, and bloom time. Here’s a step-by-step guide:
1. Plan your layout
- Map the area: Sketch your yard or garden bed to visualize the space.
- Sunlight analysis: Note where the sun hits throughout the day to determine the best plants for each area.
- Soil consideration: Test the soil to understand its composition and drainage capacity.
2. Choose plants based on height
- Back layer (tallest plants): Use trees, shrubs, or tall perennials as a backdrop. Choose plants like ornamental grasses, hydrangeas, or tall sunflowers. Aim for heights between 4 and 8 feet (1.2–2.4 m) or more, depending on the space.
- Middle layer (medium plants): Plant medium-height shrubs, perennials, or grasses in front of the tallest layer. Examples include coneflowers, daylilies, and lavender, typically 2 to 4 feet (0.6–1.2 m) tall.
- Front layer (shortest plants): Place low-growing perennials, ground covers, or annuals in the front. Options like creeping thyme, hostas, or small flowering plants (up to 2 feet) work well here.
3. Incorporate color and texture
- Color harmony: Choose a color scheme that complements your home and surroundings. Use warm colors (reds, oranges, yellows) for a vibrant look or cool colors (blues, purples, greens) for a calming effect.
- Texture variety: Mix plants with different leaf shapes and textures. Combine broad leaves with feathery or spiky ones to create visual interest.
4. Consider bloom time
- Seasonal interest: Plant a variety of species that bloom at different times of the year. Early spring bulbs, summer perennials, and late-blooming flowers ensure continuous color.
- Evergreens for structure: Use evergreen plants to maintain structure and greenery year-round.
5. Layering depth and density
- Depth perception: Arrange plants in staggered rather than straight rows to create depth. This approach gives a more natural, layered look.
- Planting density: For a lush appearance, space plants closely enough to allow them to fill in but not overcrowd. This spacing encourages healthy growth and reduces the need for frequent weeding.
6. Add accents and focal points
- Focal plants: Incorporate a few standout plants, such as a unique tree, a large shrub, or a specimen plant with distinctive foliage or flowers.
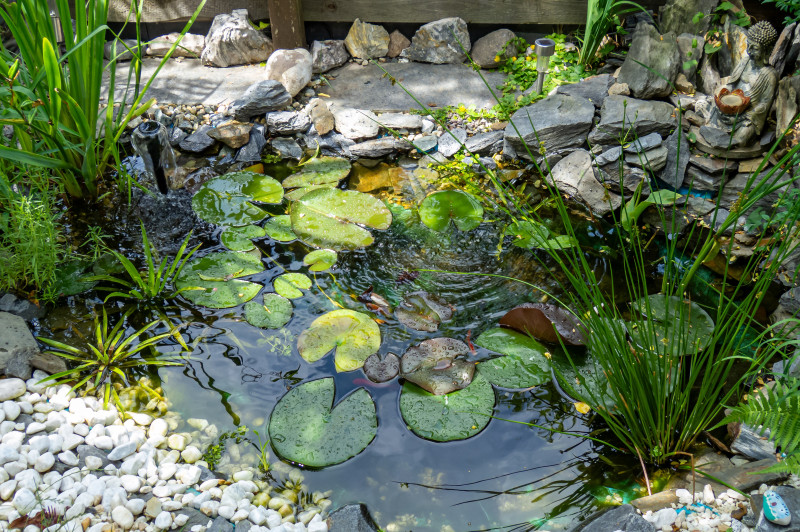
- Garden art: Consider adding elements like garden sculptures, birdbaths, or a water feature to create visual interest and break up the plant layers.
7. Maintenance and adjustments
- Pruning and trimming: Regularly prune taller plants to maintain their shape and prevent them from overshadowing others.
- Seasonal care: Adjust the layers as needed. Replace annuals each season and add mulch to help retain moisture and reduce weeds.
Example planting arrangement
- Back layer: Evergreens (like Eastern Redcedar), tall ornamental grasses, Eastern Redbud, Joe-Pye Weed.
- Middle layer: Purple Coneflower, Penstemons, Monarda, Mountain Mint (non-invasive), goldenrods, Switchgrass.
- Front layer: Black-eyed Susan, sedums, Creeping Phlox, Wild Strawberry, native sedges, Eastern Bluestar.
By following these steps, you’ll create a layered garden that looks balanced and appealing throughout the year. By using only native plants, you’ll help perpetuate species that are being eradicated through habitat destruction. They’re also preferred by wildlife and will adapt to your planting environment better than cultivars.
The soil in your yard is more than just dirt Less common plants for wildlife


